Online Image Compression Made Simple: Reduce Size, Keep Quality
I am Vivan Mehta, a dedicated SEO expert with 5 years of experience in digital marketing. Known for my strategic approach to search engine optimization, I excel at enhancing online visibility and driving organic traffic for businesses.
In today’s digital world, images are used everywhere—on websites, blogs, social media, emails, and even online documents. But high-quality images often come with a big problem: large file size. Large images take more time to upload, load slowly on websites, and can even reduce your device’s storage space very quickly.
That is where online image compression becomes extremely useful. Compressing images simply means reducing the file size while keeping the quality as close to the original as possible.
Thanks to easy online tools, anyone can compress images instantly without installing any software or having any technical knowledge. In this guide, you will learn everything about image compression—what it is, why it matters, how it works, and how you can compress your images online in the simplest way.
Let’s start with the basics.
What Is Image Compression?
Understanding Image Compression
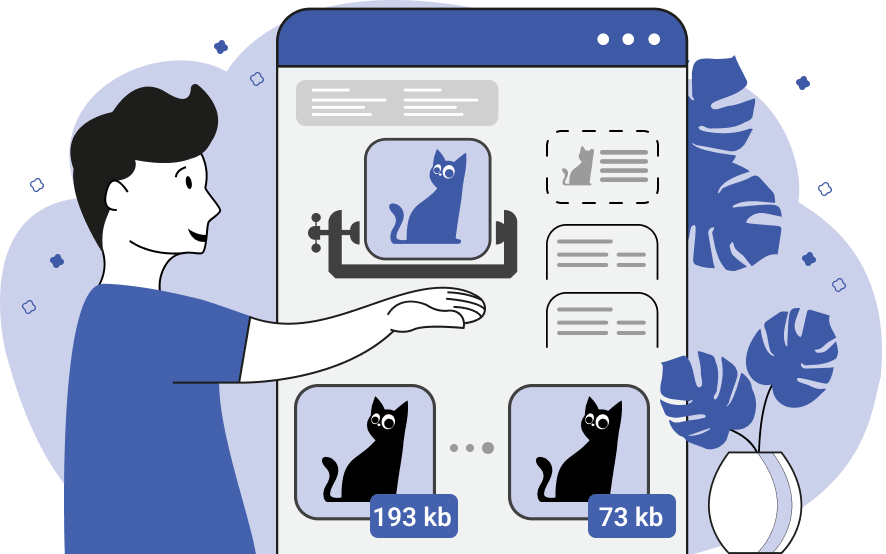
Image compression is a process that reduces the file size of an image without making it look bad. It removes unnecessary data from the image so that the size becomes smaller, but the important details are kept the same.
For example, if your original image is 5MB, after compression it may become 500KB or even smaller, while the image still looks almost the same.
Compression helps you save space, upload images faster, and speed up your website.
Types of Image Compression
There are two main types of image compression you need to know about:
Lossy Compression
This compression reduces file size by removing some image data.
It may cause a small reduction in quality, but it’s usually not noticeable.
Best for JPG and WEBP images.
When to use: – Social media posts – Website images – Blog banners – Everyday photos
Pros: – Very small file size – Faster downloads and uploads
Cons: – Slight loss of quality (usually not visible)
Lossless Compression
This compression reduces file size without removing any image data.
The image quality remains exactly the same.
Mostly used for PNG, SVG, and graphic-style images.
When to use: – Logos – Icons – Graphics with text – Transparent images
Pros: – 100% quality retained – Professional output
Cons: – File size reduction is smaller compared to lossy compression
Common Image Formats Explained
JPEG / JPG
Best for photos, portraits, and colorful images. Highly compressible.
PNG
Best for graphics, text images, transparent backgrounds, and logos.
WEBP
Modern format that gives very high quality at a very small size. Ideal for websites.
SVG
Used for icons and illustrations. Usually very small by default.
Different formats react differently to compression, and choosing the right one can make a big difference.
Why You Should Compress Images
Faster Website Loading
If you run a website or blog, image size matters a lot. Heavy images take longer to load, which can make visitors leave your site. Slow websites also rank lower on Google.
Compressed images help your website:
Load faster
Improve SEO
Reduce bounce rate
Save server space
Easy Uploading & Sharing
Most social media platforms have limits for file uploading. Large images upload slowly or sometimes fail.
Compressed images:
Upload faster
Share easily on WhatsApp, Facebook, Instagram, and email
Don’t use much mobile data
Save Storage Space
Whether you use a mobile, laptop, or cloud storage, images take up maximum space. By compressing images, you can store more photos without filling up your storage quickly.
For example:
A folder of 500 photos may take 2GB
After compression, it may become only 200MB
Huge difference, right?
Better Editing & Backup Management
Smaller images are easier to manage, back up, and edit on any device. They also open faster in editing software and don’t slow down your system.
How Online Image Compression Tools Work
No Software Needed
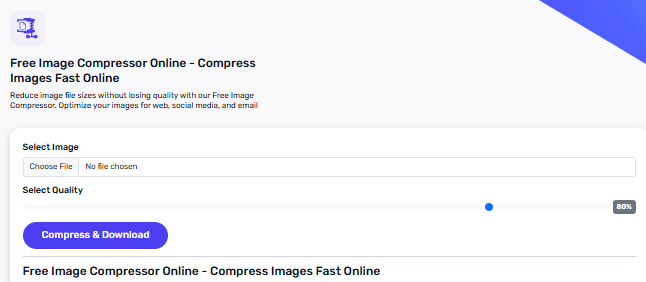
One of the main reasons people love online image compressors is that you don’t need to download or install anything. You just open a website, upload your image, compress it, and download it. That’s it.
Automatic Optimization
Online tools use smart algorithms that detect:
Image format
Colors
Resolution
Texture
Quality level
Based on these factors, the tool compresses your image in the best possible way.
You don’t need to be a tech expert. Everything happens automatically.
Drag & Drop Convenience
Most online compressors have a simple drag-and-drop function. You just drag your image into the box, and the tool starts compressing.
It is perfect for:
Beginners
Students
Designers
Bloggers
Photographers
Website owners
Step-by-Step: How to Compress Images Online
Step 1: Upload Your Image
Go to any online image compression tool. You will see an upload button or a drag-and-drop area.
Supported formats usually include:
JPG
PNG
WEBP
JPEG
Some tools also support bulk uploading, allowing you to compress 10, 20, or even 100 images at once.
Step 2: Choose Compression Level
Most online tools have two options:
Auto Compression
The tool decides the best compression level. Safe and easy for beginners.
Manual Compression
You can choose:
Quality percentage
Output size
File format
Resolution
This is useful if you want very specific results.
Step 3: Preview the Compressed Image
Good tools allow you to compare the original and compressed version.
Look at:
Sharpness
Colors
Text clarity
Edges and details
If everything looks fine, continue to download.
Step 4: Download & Save
Click the download button and save the compressed image.
You can:
Replace the original image
Save it as a separate file
Store it in cloud storage
Use it for your website or upload immediately
That’s it! Your image is now compressed and ready to use.
Tips to Reduce Image Size Without Losing Quality
If you want the best results, follow these practical tips:
Use the Right File Format
Use JPG for photos
Use PNG for text graphics
Use WEBP for website images
Use SVG for logos and icons
Choosing the correct format automatically improves compression and quality.
Resize Dimensions Before Compressing
Most images taken from DSLR cameras or smartphones have very large dimensions like 4000×3000 pixels. But websites or social media only need images like 1200×800 or even smaller.
Reducing dimensions will give you:
Smaller file size
Faster compression
No visible quality loss
Avoid Over-Compression
If you compress too much, the image may look blurry or pixelated. Always strike a balance between size and quality.
Use WEBP Format for Best Results
WEBP images provide:
High quality
Very small size
Faster loading
Most modern browsers support WEBP, making it ideal for websites and blogs.
Keep Original Files as Backup
Always keep a copy of your original image, especially if it’s for work or professional use. This helps if you need to re-edit or re-compress in the future.
Best Online Image Compression Tools
TinyPNG / TinyJPG
Perfect for PNG and JPG images
Very simple interface
Maintains high quality
CompressJPEG / CompressPNG
Easy to use
Supports bulk compression
Beginner-friendly
ImageCompressor
Handles multiple images
Good for fast compression
Offers preview option
Squoosh
Created by Google
Offers advanced settings
Suitable for tech-savvy users
Free Online Image Compressor (Your Tool)
You can also promote your own tool here. Highlight features like:
Fast compression
High-quality output
Free to use
Supports many formats
No watermark
If you are hosting a tool on your website, this is where it fits perfectly.
Frequently Asked Questions
Does image compression reduce quality?
Lossy compression reduces a little quality, but it is usually not noticeable. Lossless compression keeps 100% of the original quality.
Which format is best for high quality?
PNG and WEBP give great quality. For photos, WEBP is the best choice because it keeps quality but reduces size a lot.
Can I compress images on mobile?
Yes! Most online tools work perfectly on mobile browsers like Chrome or Safari.
Is online image compression safe?
Most well-known tools delete your images automatically after processing. Always use trusted websites for safety.
How much can an image be reduced?
A 5MB image can become 200KB or even smaller, depending on the format and compression level.
Conclusion
Image compression is no longer a complicated task. With online image compression tools, anyone can reduce image size in seconds without losing quality. Faster uploading, faster websites, more storage space, and better user experience—these are just a few benefits.
Whether you are a blogger, student, photographer, designer, or just someone who shares photos online, compressing images will make your digital life much easier.
Now that you understand everything about online image compression, you can start compressing your images instantly and enjoy all the benefits today.